
DIRECTIONS
Yum Yum Sauce
(Make 1 day before serving.)
- Mix all ingredients (except water) together well.
- Add 1-2 T of water to reach your desired sauce consistency.
- Chill overnight in the refrigerator.
- Serve at room temperature.
Ginger Sauce
- Blend all ingredients in a food processor or blender.
- Refrigerate until ready to use.
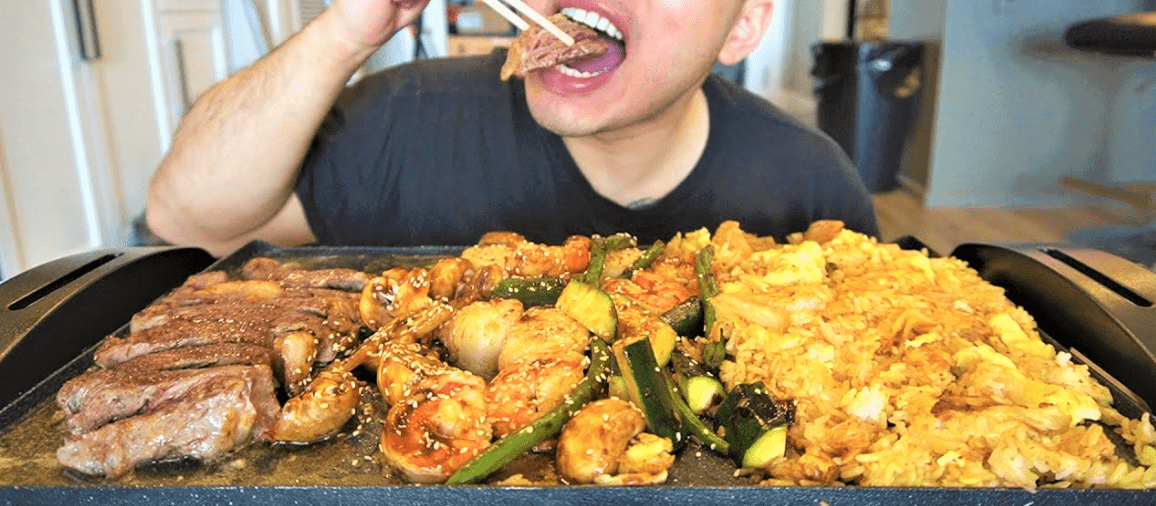
Hibachi Rice
- Heat oils in a wok or skillet.
- Add onion and saute for 1-2 mins
- Add in the egg and lightly scramble it.
- Once egg is nearly cooked, add in the cold rice, butter, and soy sauce.
- Toss rice and egg together until rice is warm and eggs are cooked completely.
- Salt and pepper to taste if needed.
- Add chopped green onions.
- Remove from pan and serve.
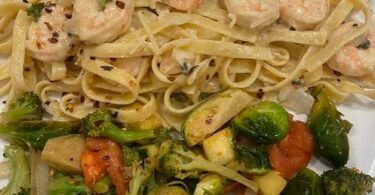
Hibachi Noodles
- Cook noodles according to package instructions and drain well.
- Heat oil
- Add in the remaining ingredients except for the green part of the green onions
- Toss to combine.
- Once noodles are very coated and hot, add in the green onions
- Adjust seasoning to your liking if needed.
- Serve.
Hibachi Veggies
- Heat oils into the wok or skillet at medium high heat
- Add in the zucchini, soy sauce, butter, and a pinch of water.
- Saute for 5 minutes
- Add in onion and continue to saute until all veggies are tender.
- Serve.
Steak
- Heat veggie oil in a skillet at medium high heat
- Add in the steak and sprinkle on the salt and pepper.
- Saute steak.
- Once steak begins to brown, add in the remaining ingredients.
- Continue to cook the steak to your desired level of doneness.
Chicken
- Heat veggie oil in pan at a medium heat
- Add in chicken and all remaining ingredients.
- Continue to cook the chicken until completely done.
- Saute to avoid burning.
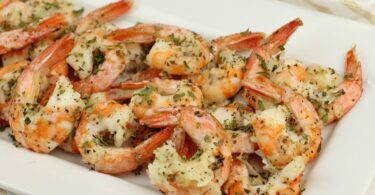
Shrimp
- Heat oil in skillet or wok
- Add in shrimp
- Add the butter, soy sauce, and teriyaki.
- Saute until shrimp are cooked.
- Be careful not to overcook.
- Add a squeeze of lemon juice.
Garlic Butter
- Place all ingredients into a food processor. (You can also stir it by hand in a bowl.)
- Blend well.
- Spoon butter in between plastic wrap and mold into desired shape. Or store in a tightly sealed container.
- Refrigerate until firm.
Notes
- Please use the vegetable oil as needed! I provide measurements in case you’re cooking each component separately. If you are using the same griddle, skillet, etc., you may not need to add oil with the addition of each meal component. Use only as needed.
- When seasoning with salt to taste, keep in mind that you’ll be using soy sauce as well. Soy sauce will add sodium too.
- I used a cast iron griddle for this meal to cook a couple components at once. However, a skillet, wok, and pan maybe used as well. Use what you have.
- If you make your own Garlic Butter, it will last for up to one week in the refrigerator. Store tightly in plastic wrap or a sealed container.
From: cookenow.com