


I moved into my house 2 years ago and had this project on the back burner. I had 2 claw foot end tables with glass on top and wanted something more Beachy Coastal looking so I decided to get this project done once and for all.


I took the glass off the top and then realized that I could also remove the curved wood, which I really didn’t like. My project now had great possibilities.


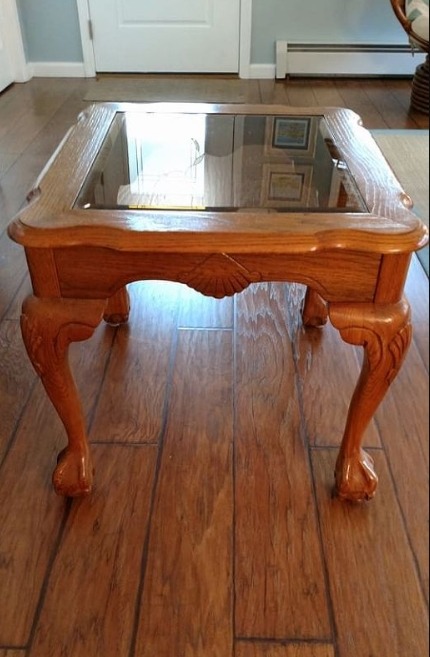
Here is the table minus the glass and curved wood.

I used an off white chalky paint that I bought from Joanne’s. I gave it 2 coats and did a little light sanding to smooth the paint and then used a heavier sandpaper to create some distressed marks. I then applied two light coats of MINWAX Water Based Polycrylic Satin Finish that I bought from Lowes. You can also use a chalk wax or a different finish if you prefer.

I went to Home Depot and picked up some really nice pine wood planks. I cut them so that they were about 1 inch bigger than the base of my table. I don’t have a circular saw, so I used a hand saw to cut each piece. I placed the planks on my workbench and used another piece of board to make sure they were aligned. I used clamps to hold down the first plank. I took a smaller wood strip and drilled holes before screwing it to the table top.


To continue Reading, Please Open The Next Page .
I lightly sanded the edges and top of my new table top. Now it was time to paint it.

used the off white chalk paint for the base of my table and the light blue chalk paint for the tabletop. After painting the wood table tops , I then used an Antiquing Dark Satin Acrylic Wax that I bought from Lowes.
I applied the antiquing wax with a brush and then removed most of it with a damp cloth. Once the top was dry I used a light coat of the same acrylic satin varnish that I used for the base. I used a spray varnish.

This is the varnish/protective sealer that I used. It is made by Minwax. I lightly sprayed the base and the top with two coats. You can used any varnish that you like but this one dries very quickly.

To continue Reading, Please Open The Next Page .
This is one photo of the completed table.

Closeup of new completed table.

Final photo of my 1 end table next to my sofa. I love how it goes with my Beachy Coastal decor and I now have more room on top of each table to show some of my beach treasure (more to be added). Now to do the second table. Since I am now a pro, I shouldn’t have any problems and it will move quicker.
Materials I used for this project:
Wood plank pieces (Home Depot)
Screws (Home Depot)
Chalkpaint and varnish (Joanne’s and Lowe’s)