 Flip it!
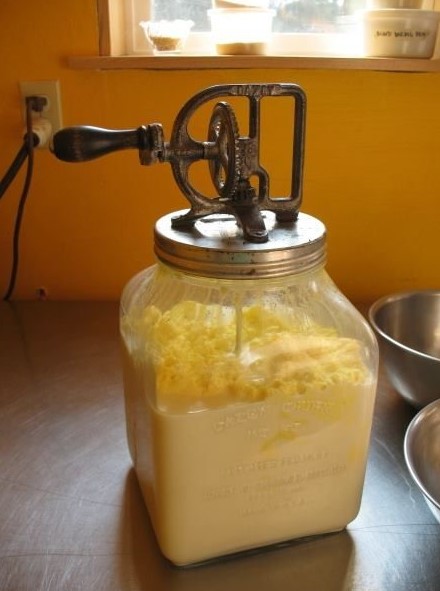
Guide to Making Homemade Butter from Fresh Milk
There’s something incredibly satisfying about making your own homemade butter. Not only does it provide a deeper connection to the food you consume, but it also offers a taste and quality that’s hard to match with store-bought versions. Making butter from fresh milk is a simple yet rewarding process that transforms a common kitchen staple into a gourmet experience.
In this guide, you’ll learn how to make butter from fresh milk using traditional methods. Whether you’re a seasoned home cook or a curious beginner, these step-by-step instructions will help you create delicious, creamy butter in the comfort of your own kitchen. With just a few ingredients and basic equipment, you can enjoy the rich, fresh taste of homemade butter and the joy of a hands-on culinary project. Let’s get started on this delightful journey to homemade butter!
Ingredients:
- Fresh milk (preferably whole milk)
- Ice water (optional, for washing the butter)
Equipment:
- Large bowl
- Electric mixer or hand whisk
- Cheesecloth or fine strainer
- Wooden spoon or butter paddles
- Salt (optional, for taste)
- Airtight container for storage
Step-by-Step Instructions
1. Gather Fresh Milk
Start with the freshest whole milk you can find. If possible, use raw milk directly from a farm. The fresher the milk, the better the cream content, which is essential for making butter.
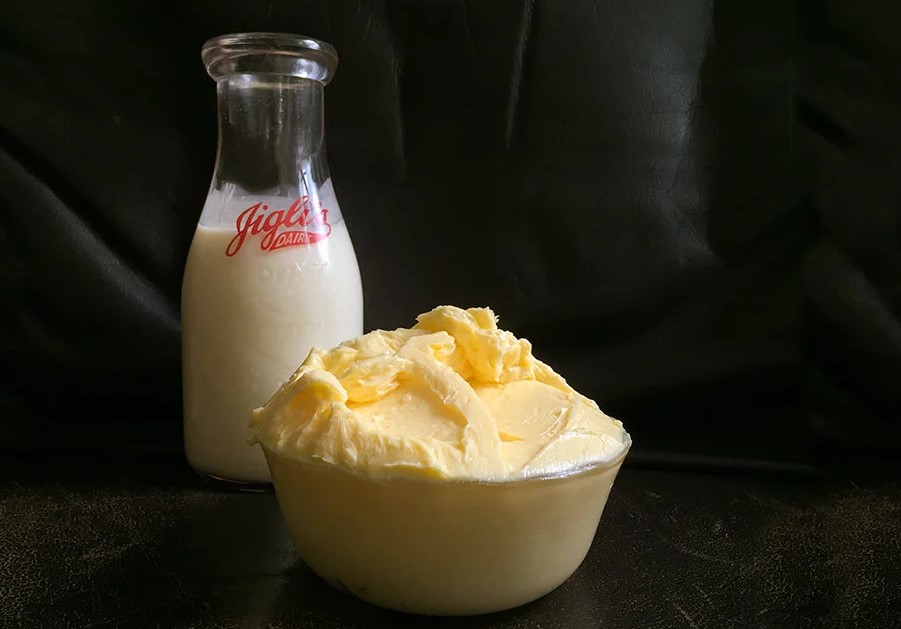
2. Separate the Cream
- Let the Milk Settle: Pour the milk into a large bowl and let it sit in the refrigerator for at least 12-24 hours. During this time, the cream will rise to the top.
- Skim the Cream: Carefully skim the thick cream layer off the top of the milk using a ladle or spoon. Transfer this cream to a separate bowl.
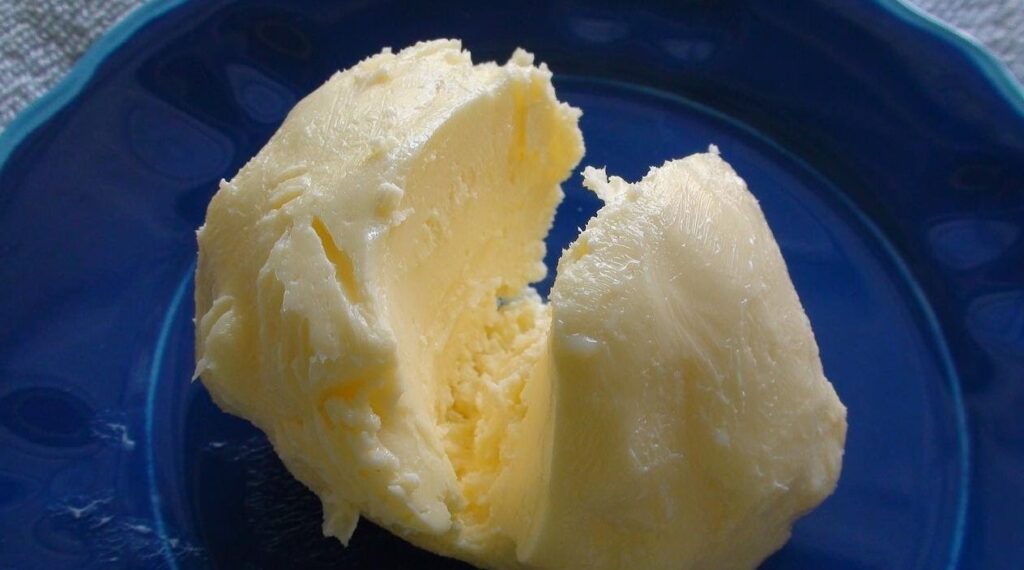
3. Churn the Cream
- Use an Electric Mixer or Hand Whisk: Pour the cream into a large mixing bowl. Using an electric mixer on medium to high speed, start whipping the cream. If you don’t have an electric mixer, a hand whisk will also work but will take more time and effort.
- Watch the Stages: The cream will first turn into whipped cream. Continue whipping until the cream starts to clump together and separate into butter and buttermilk. This process usually takes about 10-15 minutes.
4. Separate the Butter and Buttermilk
- Drain the Buttermilk: Once the butter has formed, you will notice a liquid separating from the solid butter. This liquid is buttermilk. Pour off the buttermilk through a cheesecloth or fine strainer into a separate container. You can save this buttermilk for other recipes.
5. Wash the Butter
- Rinse with Ice Water: To remove any remaining buttermilk, rinse the butter under cold ice water. Place the butter in a bowl and pour ice water over it, then knead the butter with a wooden spoon or butter paddles. Repeat this process several times until the water runs clear. This step helps in prolonging the shelf life of your butter.
6. Add Salt (Optional)
- Salt for Flavor: If you prefer salted butter, now is the time to add salt. Sprinkle a small amount of salt over the butter and knead it in evenly. Adjust the amount of salt to your taste.
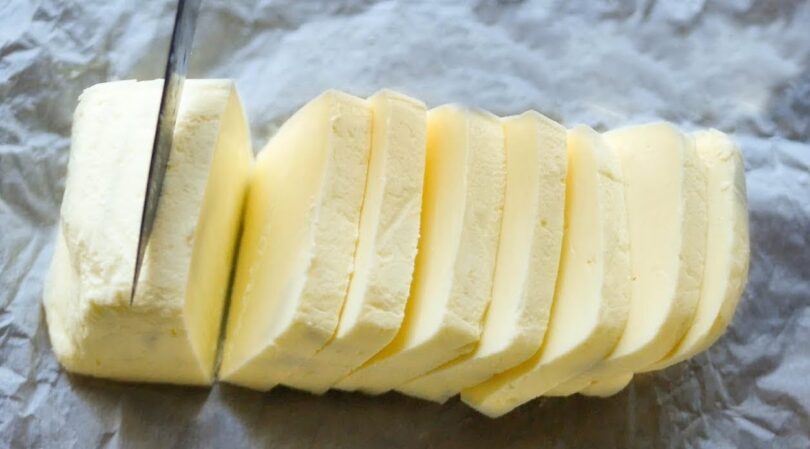
7. Shape and Store the Butter
- Shape the Butter: Form the butter into a block or any shape you prefer. You can use butter molds or simply shape it by hand.
- Store in an Airtight Container: Place the butter in an airtight container and store it in the refrigerator. Freshly made butter can last up to two weeks in the fridge. For longer storage, you can freeze the butter for up to three months.
Tips and Troubleshooting
- Cream Quality: The quality and freshness of the cream significantly affect the taste and texture of the butter. Always use the best quality cream you can find.
- Temperature: Cold cream churns faster. Ensure your cream is cold before starting the process.
- Over-Churning: Be careful not to over-churn the butter as it can become too hard and crumbly.
- Buttermilk Uses: The leftover buttermilk can be used in baking recipes, pancakes, or even as a marinade for meats.
Conclusion
Making homemade butter from fresh milk is a rewarding and relatively simple process. By following these steps, you can enjoy fresh, creamy butter that tastes far superior to store-bought varieties. Whether you use it for baking, cooking, or simply spreading on toast, homemade butter brings a delightful, rich flavor to your kitchen.
Enjoy your homemade butter!