
 Flip it!
Anyone who is practiced in the art of crocheting knows that this hobby is as calming as it is creative, and, the best part is that you don’t need to have your grandma’s skills to get started. Today we are going to share the perfect project for all of you newbies out there. And, no, don’t worry, you won’t be assembling any strange decorative potholders—you’ll be making impressive-looking flowers!
This tutorial comes to us from crochet master Bella Coco. If you’re at ALL interested in this form of crafting, then she is the one to check out. Her almost quarter of a million subscribers says it all—this girl can make some amazing stuff!
But back to our task-at-hand. Bella Coco calls these dainty trimmings to puff flowers. They can be made in order to attach to a larger sewing project, or just used on their own to add some shabby chic charm to your home.
Before you get to crocheting these beautiful embellishments, let’s first gather together the necessary materials:
Yarn (you will need to separate colors to make one flower)
Sewing scissors
4.5-millimeter crochet hook
Darning needle
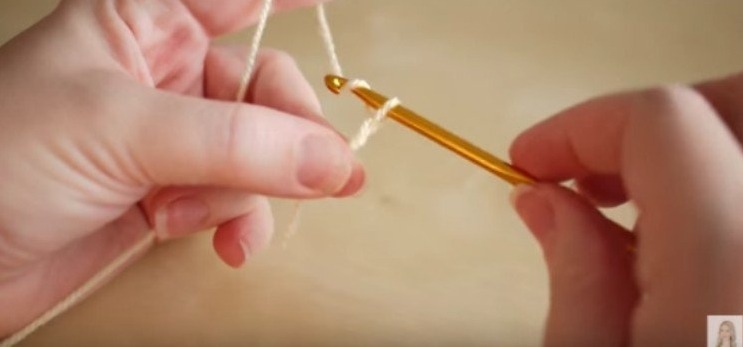
Create the center
Bella Coco crochets these flowers starting from the inside out, so don’t worry about visualizing the petals yet. Just focus on the middle— or the pistil for all of you botanists out there!
You can get started on this by taking the yarn color of your choice and wrapping a section of it around your finger so that it forms a slip knot. Then, using the knot as a base, create a chain stitch and secure it so that you are left with a circular shape.
Next, perform twelve single crochets by inserting hook into the center and yarning over. Don’t worry about the loose end of yarn; you will make use of that piece later.
Complete the pistil by yarning over the first row to create a firm knot, then take your scissors and cut off the excess material.
Add the petals
Begin on the petals by inserting your crochet hook into a gap in the first row of the center of the flower. As you’ve probably expected, we will be using the second color of yarn to create the petals of the flower, so you are going to want to take this yarn and bring it through that chosen space.
Secure it to the pistil by tying it off into a simple knot.
The next thing that you will want to focus on in this step is sewing in your loose ends. To do this, hold them together off to the side between your thumb and your middle finger, then yarn over and create a chain of three from your attached piece. Pull through the same space in which you have been using, then chain three once more before completing this into the next space.
Once you are finished, you should end up with three stitches in either of the two separate spaces. Using all six loops, chain two stitches onto the top of your petal. Continue making your petals by looping your hook through the next space and yarning together three stitches. Repeat this process for every two gaps in the center.
Not too difficult so far, right? To learn the final steps of this classic crochet project, as well as how to take these puff flowers to the next level, be sure to click on Bella Coco’s video below. Happy crocheting!
From: tiphero.com
This Post is Useful? You can save it to your Pinterest related boards to help people see it!

- Pin