Once all the brackets are secured and lined up we sat the shelves on the brackets unscrewed and made sure they were lined up. We actually ended up using a long picture off my wall because our long level was in our camper from another project that we’re working on. But, hey, it did the job! sometimes you have to think out of the box when doing your DIY!
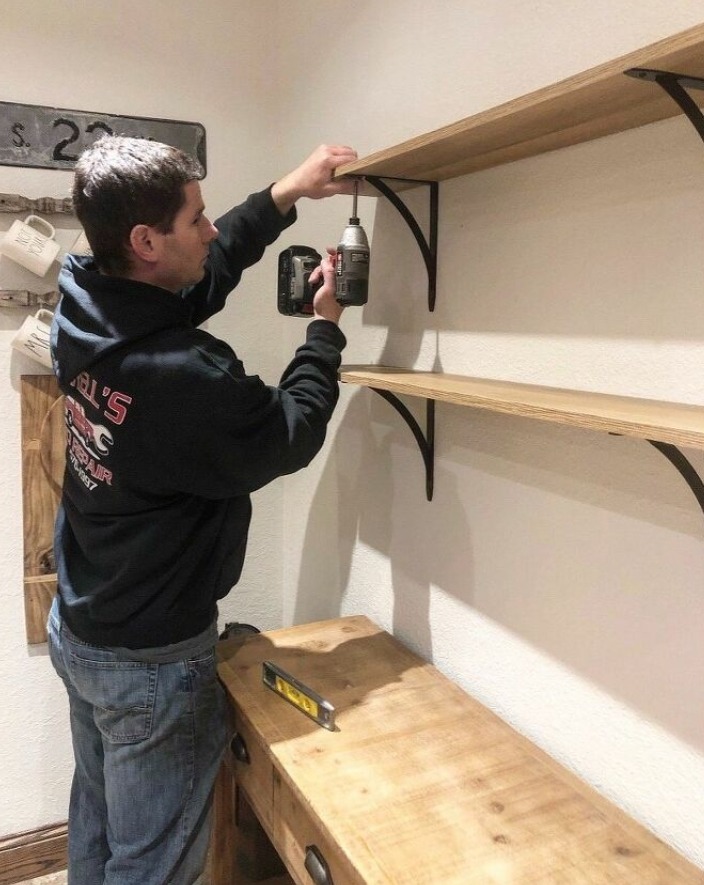
Now that everything is lined up we simply screwed the shelving to the brackets.
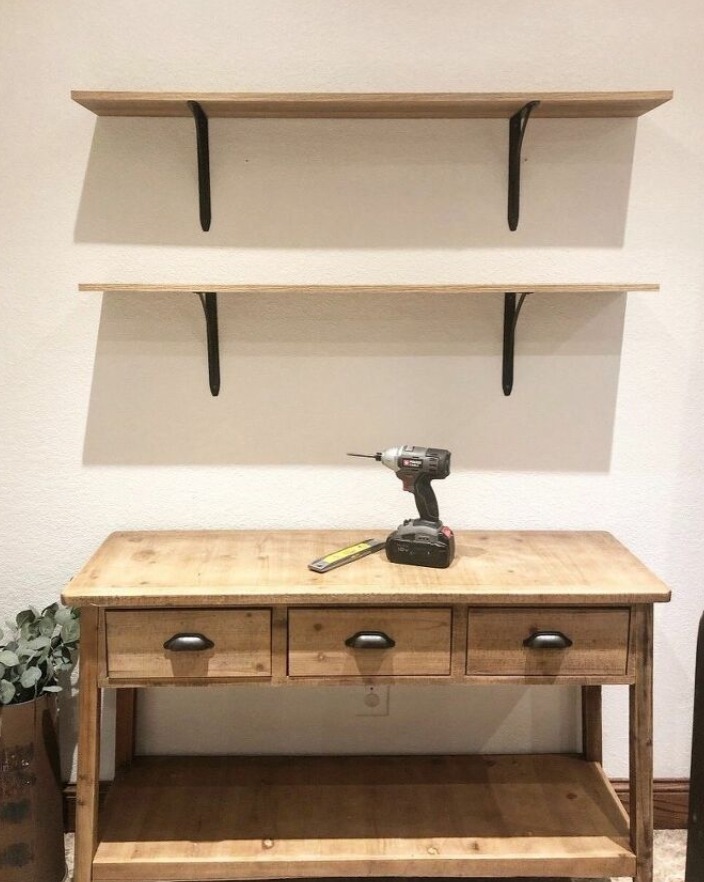
And there you have it!
The hardest part in this project for me was picking out what materials I wanted to use. I ended up going with an engineered wood for our shelving because the finish matched the side table so perfectly that I wasn’t sure I could do better at matching it if I stained it myself.
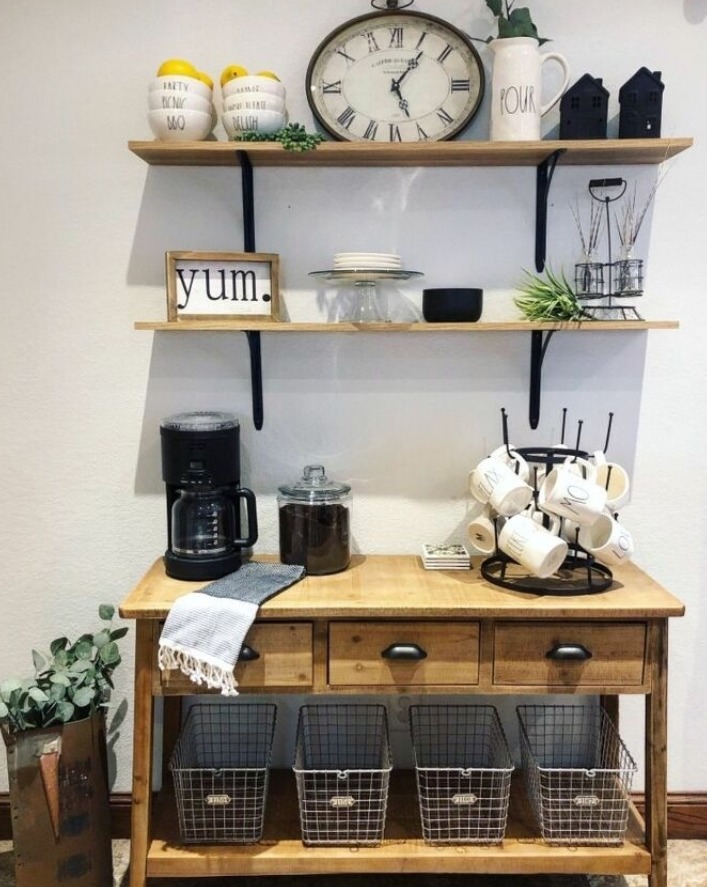
Here is the finished look. I’m so pleased with how this area turned out. It was so simple to hang a couple of open shelves. I now have an area that has a purpose and looks amazing.
