Step 1
Fill the bottom of a wide mouthed bowl with antiquing glaze. DO NOT ADD WATER.
Dip just the tips of your brush into the glaze and blot on the sides of the bowl.
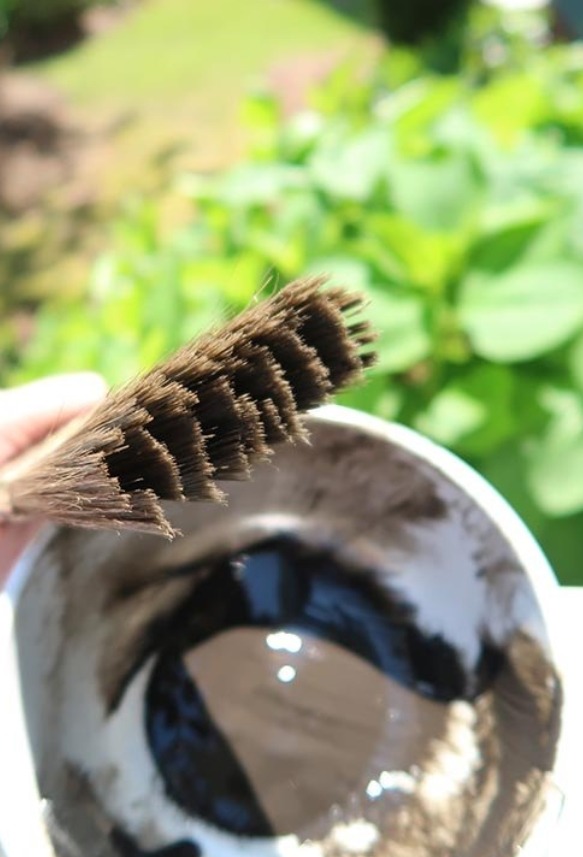
I’m going to show you a mid point in the process and what my brush looked like.
When I say very little glaze I mean it and your brush should fan out like this, from working the glaze back and forth on the wood.
You can see I was blotting the brush every time I added glaze on the side of the bowl.
Step 2
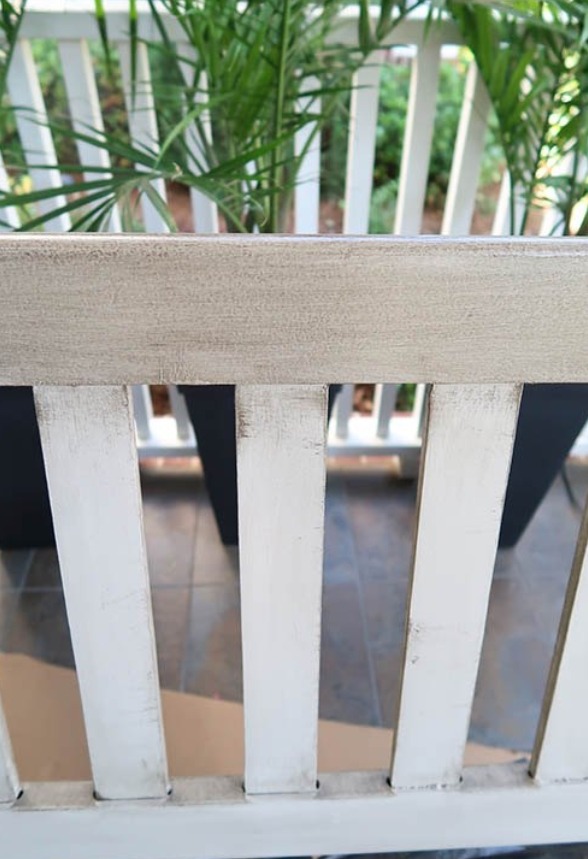
Work your brush back and forth, back and forth in the direction of the wood: horizontal or vertical to create lines.
Keep working an area until there isn’t glaze coming off of the brush and you need to re-load it with glaze.
Try to avoid overlapping!
I worked the horizontal sections first trying to avoid the vertical slats. Make sure you get ALL surfaces. I did overlap on edges and left it because I liked the look!
If you overlap, luckily glaze is forgiving and you can wipe it off with a damp paper towel before it dries.
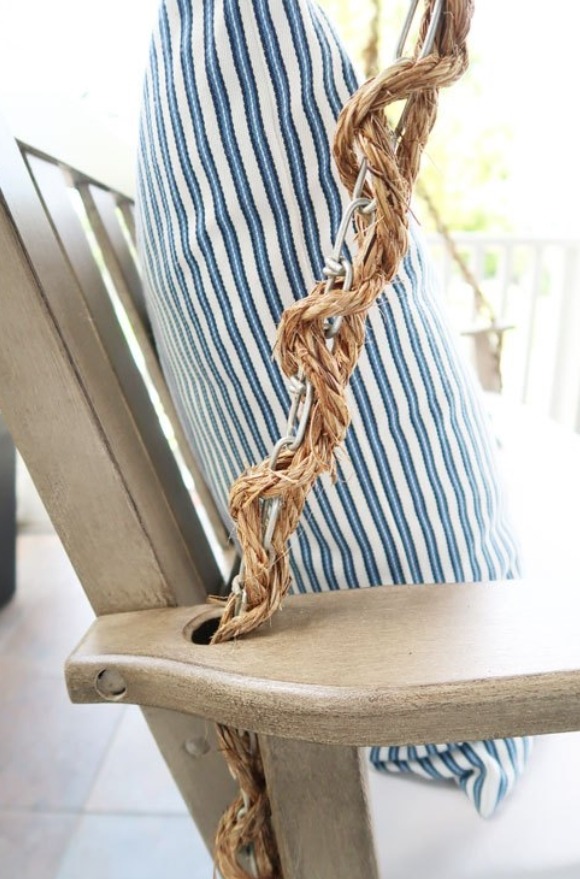
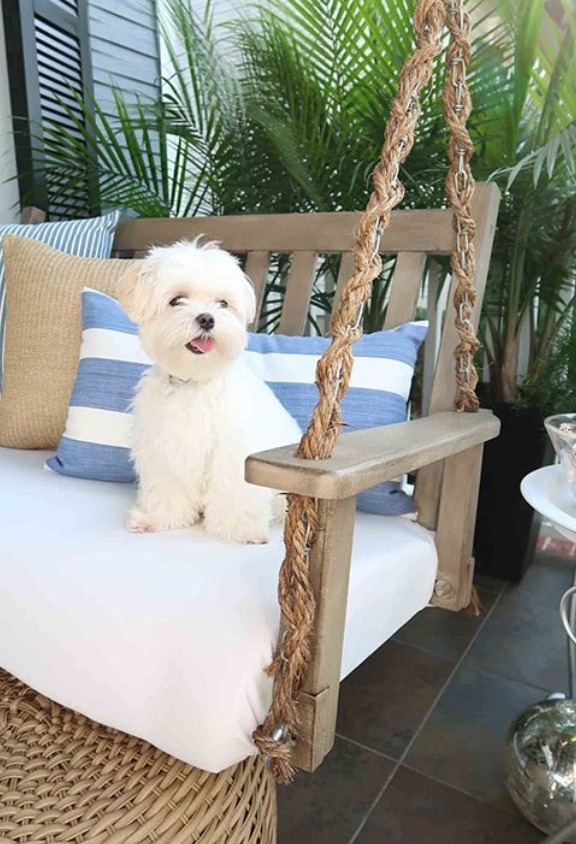
Here is a close up of the final driftwood gray finish!
Wait for it to dry overnight, before adding pillows or cushions so the finish is as hard as possible!
You can see I couldn’t get into the hole where the chain is, but it doesn’t hurt the overall effect.
